Crispy Baked Chicken Wings – Easy Snack Recipe (No Deep Frying!)
These crispy baked chicken wings. Easy Snack Recipe (No Deep Frying!)

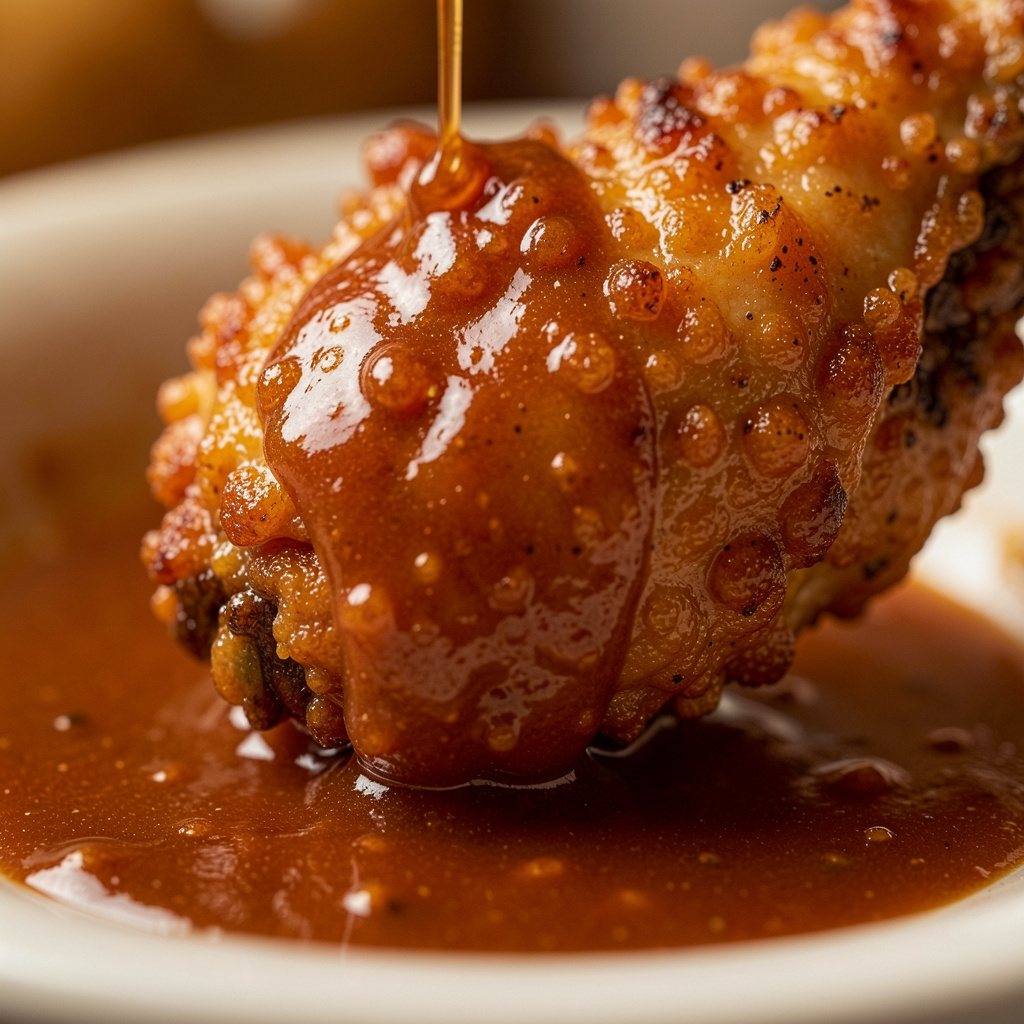
Crispy chicken wings are one of the most beloved snacks and appetizers, whether it’s game day, a casual get-together, or just a craving for something crunchy and flavorful. The problem is that traditional deep-frying can be messy, requires a lot of oil, and adds unnecessary calories. This recipe solves that with a baking method that delivers wings just as crispy as their fried counterparts, without any deep frying involved.
The secret lies in a simple trick: a light coating of baking powder combined with high oven heat, which draws moisture out of the skin and creates that irresistible crunch everyone loves. Pair these wings with your favorite dipping sauce, and you have a snack that disappears fast at any gathering.
Let’s get into exactly how to make them.
Why You’ll Love This Recipe
- No deep frying required – baked to crispy perfection in the oven.
- Minimal ingredients – simple pantry staples create maximum flavor.
- Great for any occasion – game day, parties, or a weeknight snack.
- Customizable sauces – toss in your favorite flavor after baking.
- Healthier than fried wings – less oil, same satisfying crunch.
Ingredients You’ll Need
- 2 lbs chicken wings, separated into flats and drumettes
- 1 tablespoon baking powder (not baking soda)
- 1 teaspoon salt
- 1/2 teaspoon garlic powder
- 1/2 teaspoon paprika
- 1/4 teaspoon black pepper
For Tossing (choose one): – 1/2 cup buffalo sauce – 1/2 cup barbecue sauce – 1/4 cup honey mixed with 2 tablespoons soy sauce and 1 teaspoon sriracha (honey sriracha option)
Step-by-Step Instructions
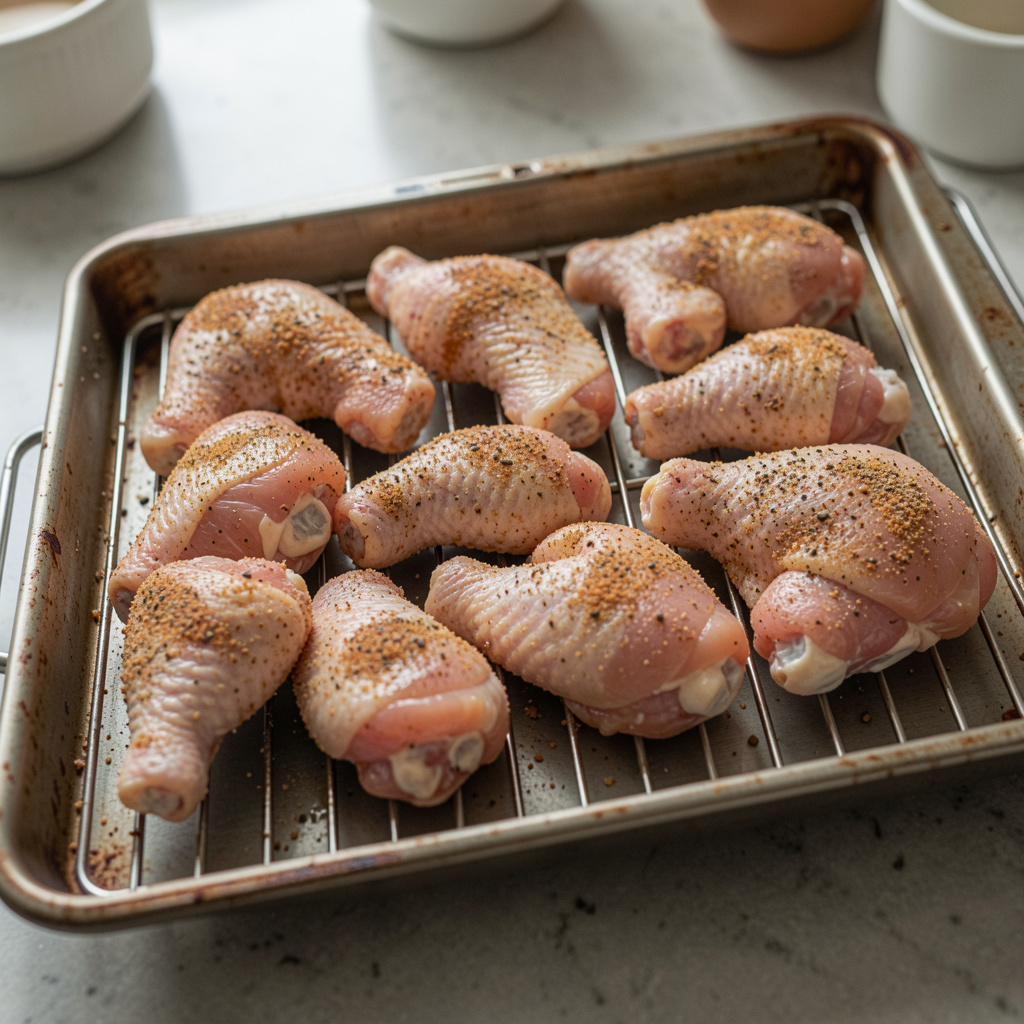
Step 1: Dry the Wings Thoroughly
Pat the chicken wings completely dry using paper towels. This step is crucial, as excess moisture prevents the wings from crisping up properly in the oven.
Step 2: Prepare the Coating
In a small bowl, mix together the baking powder, salt, garlic powder, paprika, and black pepper. Make sure to use baking powder, not baking soda, as baking soda will create an unpleasant metallic taste.
Step 3: Coat the Wings
Place the dried wings in a large bowl and sprinkle the baking powder mixture evenly over them. Toss thoroughly until every wing is evenly coated.
Step 4: Arrange on a Wire Rack
Set a wire rack inside a large baking sheet lined with foil (for easier cleanup). Arrange the wings in a single layer on the rack, making sure they are not touching each other. The wire rack allows air to circulate around the wings, ensuring even crisping on all sides.
Step 5: Bake at a Low Temperature First
Bake the wings in a preheated oven at 250°F for 30 minutes. This low, slow start helps render the fat and dry out the skin.
Step 6: Increase the Heat and Crisp
Increase the oven temperature to 425°F and continue baking for another 40 to 45 minutes, flipping the wings halfway through, until they are deeply golden and crispy.
Step 7: Toss in Sauce and Serve
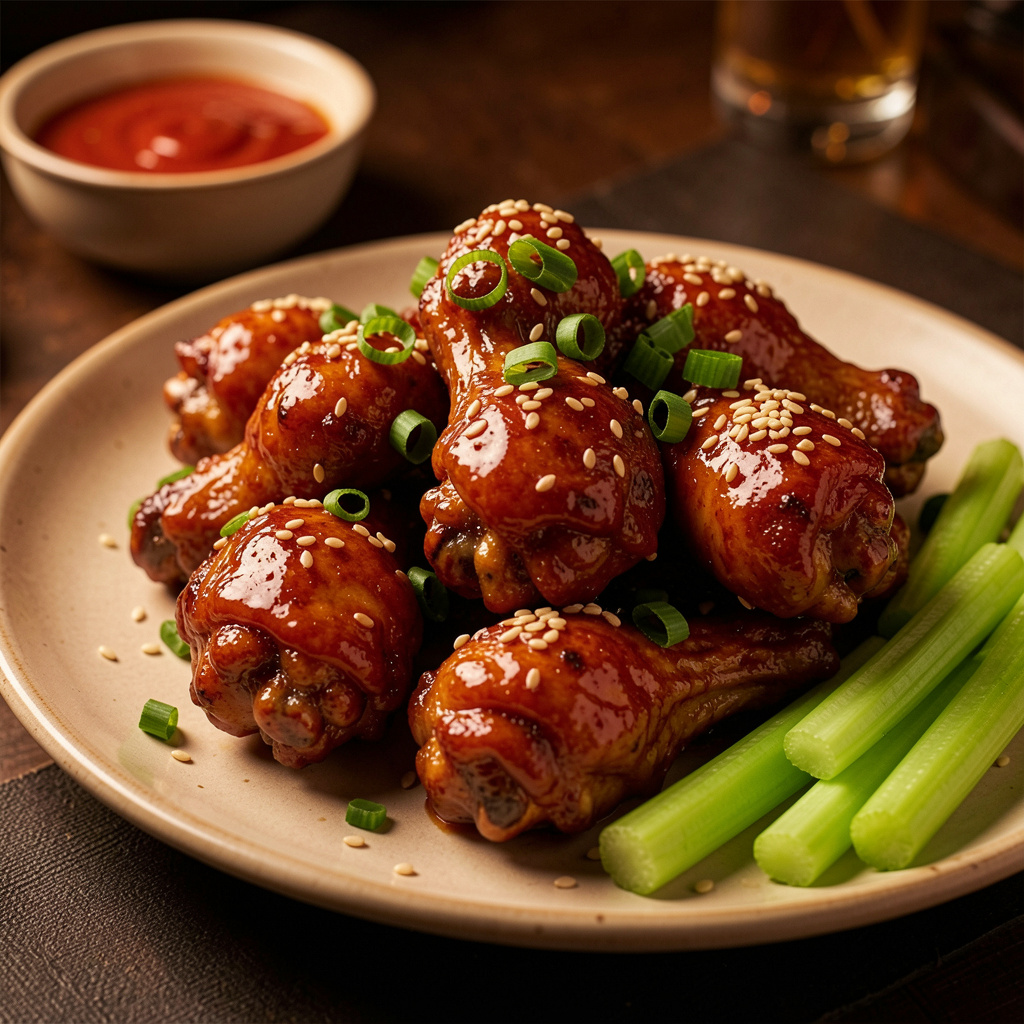
Remove the wings from the oven and let them cool for a couple of minutes. Toss them in your sauce of choice while still warm, so the sauce clings well without making the skin soggy. Serve immediately.
If you like this recipe then checkout our Rich Chocolate Lava Cake Recipe for Desserts.
Tips for Extra Crispy Wings
- Dry the wings as much as possible before coating — this is the single most important step for crispiness.
- Use a wire rack, not a flat baking sheet, so hot air can circulate around the entire wing.
- Don’t overcrowd the pan. Wings that touch each other will steam instead of crisp.
- Toss the sauce in at the end, not before baking, to keep the skin crispy.
- Use baking powder, not baking soda — this distinction matters significantly for both texture and taste.
Delicious Sauce Variations
- Classic Buffalo: Toss wings in a mix of hot sauce and melted butter for tangy heat.
- Honey Garlic: Combine honey, minced garlic, and soy sauce for a sweet and savory glaze.
- Lemon Pepper: Skip the sauce entirely and toss the baked wings in melted butter, lemon zest, and cracked black pepper.
- Korean-Style: Toss in a gochujang-based sauce with a touch of sesame oil and green onions.
- Dry Rub Only: For a sauce-free option, simply season generously with your favorite dry rub before baking and skip the tossing step.
What to Serve With Chicken Wings
Classic pairings include celery sticks, carrot sticks, and a side of ranch or blue cheese dressing for dipping. For a more filling snack spread, add potato wedges, mozzarella sticks, or a simple coleslaw on the side.
How to Store and Reheat
Refrigerating: Store leftover wings in an airtight container in the refrigerator for up to 4 days.
Freezing: Baked, unsauced wings freeze well for up to 3 months. Freeze in a single layer first, then transfer to a freezer bag once solid.
Reheating: For best results, reheat wings in an oven or air fryer at 375°F for about 10 minutes to restore crispiness. Avoid microwaving, as this will make the skin soggy.
Frequently Asked Questions
Why use baking powder instead of baking soda?
Baking powder helps break down proteins in the skin and raises its pH, which promotes browning and crisping. Baking soda has a stronger, more alkaline taste that can leave a metallic aftertaste if used in excess.
Can I make these wings ahead of time for a party?
Yes, bake the wings fully and store them unsauced in the refrigerator. Reheat in the oven at 375°F until crispy again, then toss in sauce right before serving.
Do I need to flip the wings while baking?
Yes, flipping halfway through the high-heat baking stage ensures both sides crisp up evenly.
Can I use frozen chicken wings for this recipe?
It’s best to fully thaw wings first and pat them completely dry, since excess moisture from frozen wings will prevent proper crisping.
Is there an air fryer version of this recipe?
Yes, after coating with the baking powder mixture, air fry at 400°F for 20 to 25 minutes, flipping halfway through, until golden and crispy.
Final Thoughts
These crispy baked chicken wings prove you don’t need a deep fryer to achieve restaurant-quality crunch at home. Whether you’re hosting a game-day gathering or simply craving a satisfying snack, this recipe delivers big flavor with minimal effort and mess. Try one of the sauce variations above, or keep it simple with a classic dry rub — either way, these wings are sure to be a hit.
Give this recipe a try and let us know your favorite sauce combination in the comments below!