Fluffy Buttermilk Pancakes Ready in 20 Mins
Learn how to make the fluffiest buttermilk pancakes from scratch with t in 20 minutes!
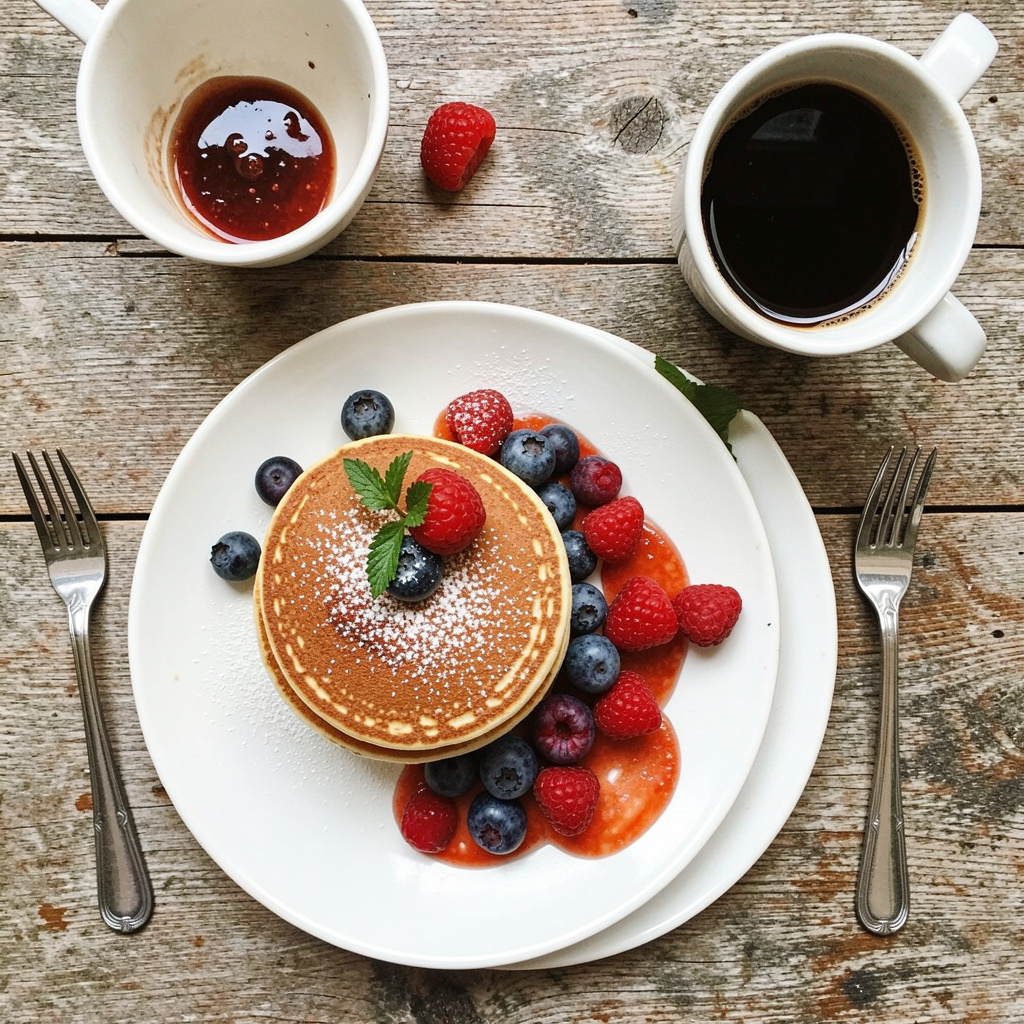
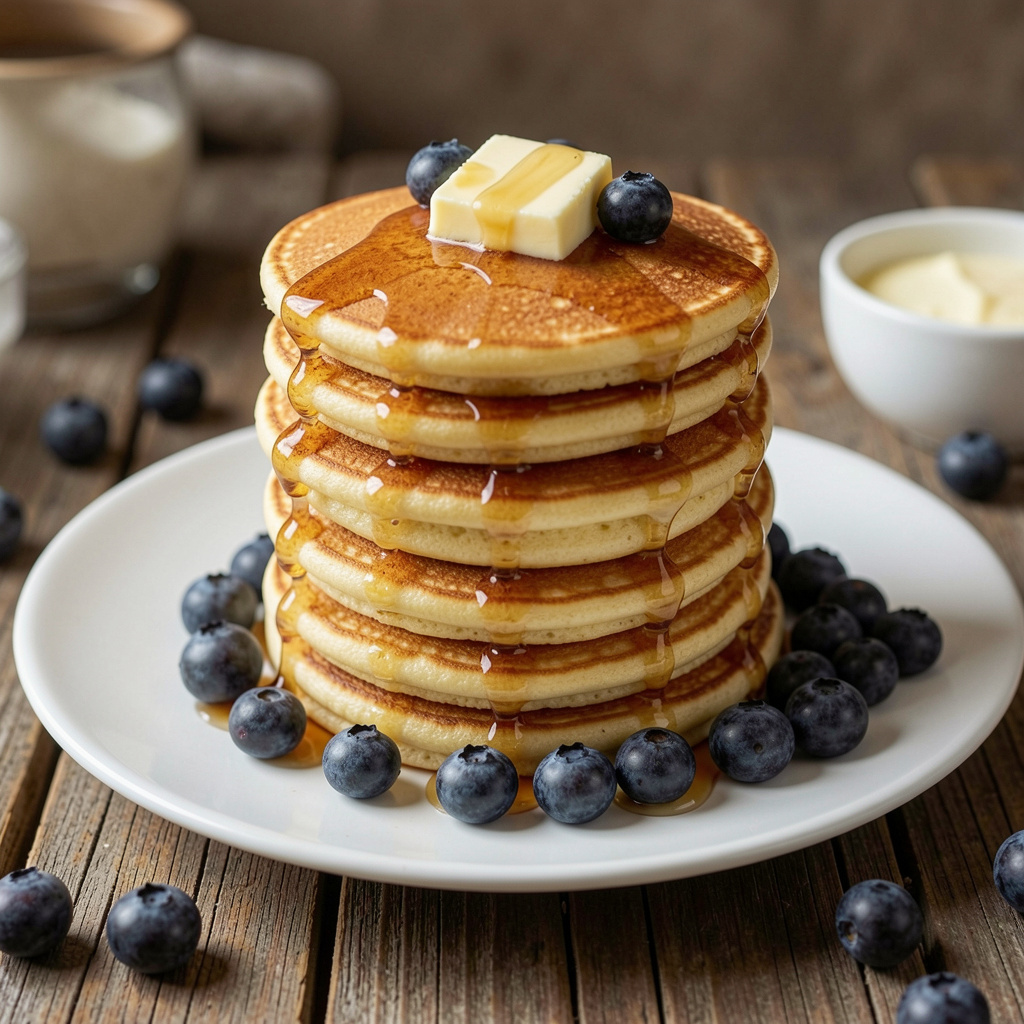
There is nothing quite like waking up to the smell of pancakes sizzling on a griddle. This buttermilk pancake recipe has been a staple in home kitchens for generations, and once you try it, you will understand why. These pancakes come out impossibly light, fluffy, and golden every single time, with just the right amount of tang from the buttermilk balancing out the sweetness.
Whether you are making breakfast for a lazy Sunday morning, feeding a hungry family before school, or looking for a comforting brunch dish to impress guests, this recipe delivers restaurant-quality results without any fancy equipment or hard-to-find ingredients. Everything you need is likely already sitting in your pantry and fridge.
In this post, we will walk through exactly how to make the fluffiest buttermilk pancakes, share tips that guarantee success every time, explore fun variations, and answer the most common questions people have about pancake making. By the end, you will have a foolproof recipe you can return to again and again.
Why You’ll Love This Recipe
- Ready in 20 minutes – from batter to plate, this is a fast breakfast solution for busy mornings.
- Incredibly fluffy texture – thanks to buttermilk and a simple leavening trick, these pancakes rise beautifully.
- Simple pantry ingredients – no specialty items required.
- Freezer friendly – make a big batch and freeze extras for busy weekdays.
- Kid approved – a family favorite that both children and adults love.
Ingredients You’ll Need To Make Fluffy Pancake
To make about 12 medium pancakes (serves 4), you will need:
- 2 cups all-purpose flour
- 2 tablespoons granulated sugar
- 1 teaspoon baking powder
- 1/2 teaspoon baking soda
- 1/2 teaspoon salt
- 2 cups buttermilk
- 2 large eggs
- 1/4 cup unsalted butter, melted (plus extra for cooking)
- 1 teaspoon vanilla extract
Ingredient Notes: – If you don’t have buttermilk on hand, you can make a substitute by adding 2 tablespoons of lemon juice or white vinegar to 2 cups of regular milk and letting it sit for 5 minutes. – Using melted butter instead of oil adds richer flavor, but you can substitute with neutral oil if preferred. – Make sure your baking powder and baking soda are fresh, since these are what give the pancakes their signature rise.
Step-by-Step Instructions
Step 1: Mix the Dry Ingredients
In a large mixing bowl, whisk together the flour, sugar, baking powder, baking soda, and salt. Whisking the dry ingredients first ensures the leavening agents are evenly distributed throughout the flour, which helps create consistent fluffiness in every pancake.
Step 2: Combine the Wet Ingredients
In a separate bowl, whisk together the buttermilk, eggs, melted butter, and vanilla extract until fully combined.
Step 3: Combine Wet and Dry Mixtures
Pour the wet ingredients into the bowl with the dry ingredients. Using a spatula or whisk, gently fold everything together just until combined. Do not overmix. A few small lumps in the batter are completely normal and actually desirable, as overmixing develops gluten and leads to tough, dense pancakes instead of light and fluffy ones.
Step 4: Let the Batter Rest
Let the batter sit for about 5 minutes before cooking. This resting period allows the baking powder and baking soda to activate and gives the flour time to hydrate, which results in a better rise and texture.
Step 5: Heat the Pan
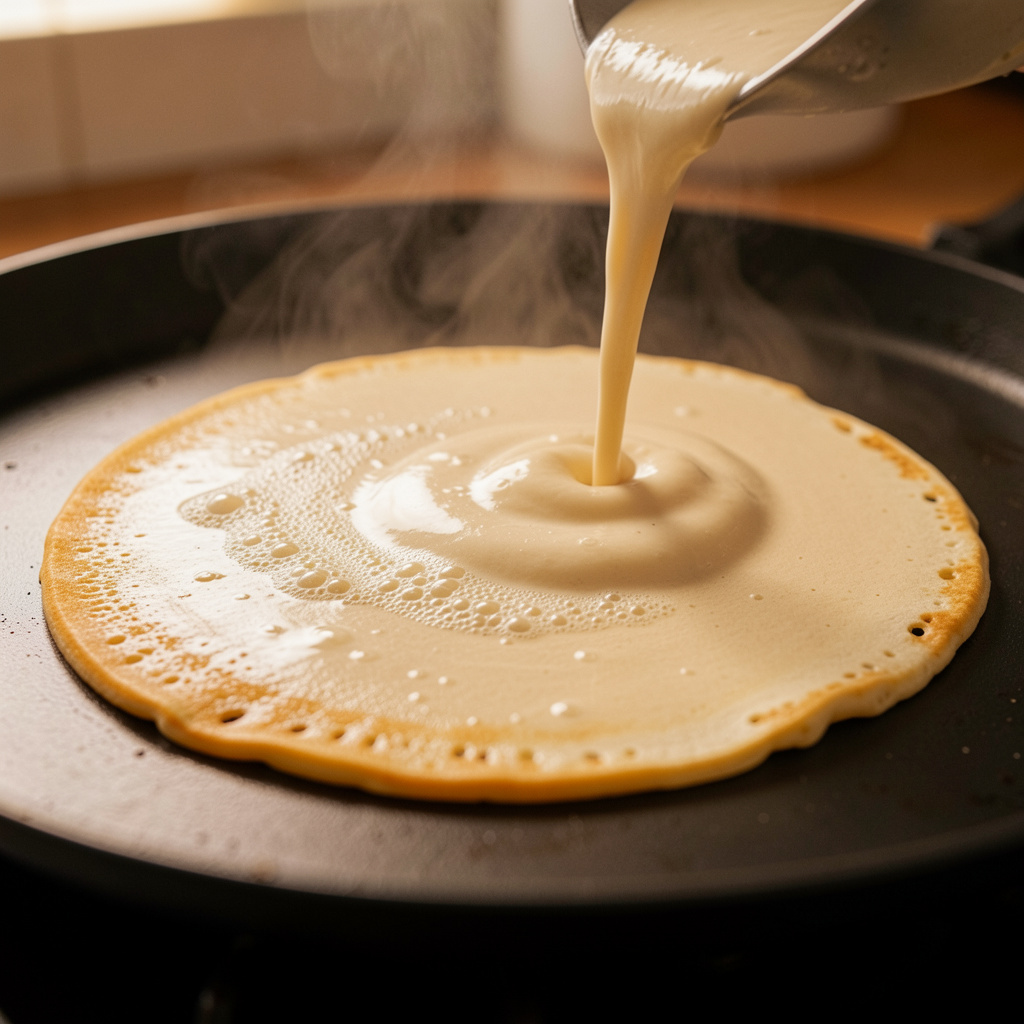
Heat a non-stick griddle or skillet over medium heat. Add a small pat of butter and let it melt, swirling it around to coat the surface evenly. The pan is ready when a drop of water sizzles and evaporates quickly on contact.
Step 6: Cook the Pancakes
Pour about 1/4 cup of batter onto the griddle for each pancake. Cook until bubbles begin to form on the surface and the edges look set, roughly 2 to 3 minutes. Flip carefully and cook the other side for another 1 to 2 minutes, until golden brown.
Step 7: Keep Warm and Serve
Transfer cooked pancakes to a plate and keep them warm in a low oven (around 200°F) while you finish cooking the rest of the batch. Serve warm with your favorite toppings.
If you likr this Pancakes recipe then checkout our Honey Garlic Salmon Recipe .
Tips for the Fluffiest Pancakes
- Don’t overmix the batter. Lumps are your friend here — overmixing is the number one reason pancakes turn out flat and rubbery.
- Let the batter rest. Even five minutes makes a noticeable difference in texture.
- Control your heat. Medium heat is ideal. Too hot and the outside burns before the inside cooks; too low and the pancakes won’t rise properly.
- Don’t press down on the pancakes while cooking. This releases air and deflates the fluffiness.
- Use room temperature ingredients. Cold eggs and buttermilk straight from the fridge can make the batter seize up slightly, affecting texture.
Delicious Variations to Try
- Blueberry Pancakes: Fold in 1 cup of fresh or frozen blueberries into the batter before cooking.
- Chocolate Chip Pancakes: Add 1/2 cup of mini chocolate chips for a sweeter treat.
- Banana Pancakes: Mash one ripe banana into the wet ingredients for natural sweetness and moisture.
- Whole Wheat Version: Substitute half the all-purpose flour with whole wheat flour for a heartier, fiber-rich option.
- Cinnamon Spice Pancakes: Add 1 teaspoon of ground cinnamon and a pinch of nutmeg to the dry ingredients.
What to Serve With Buttermilk Pancakes
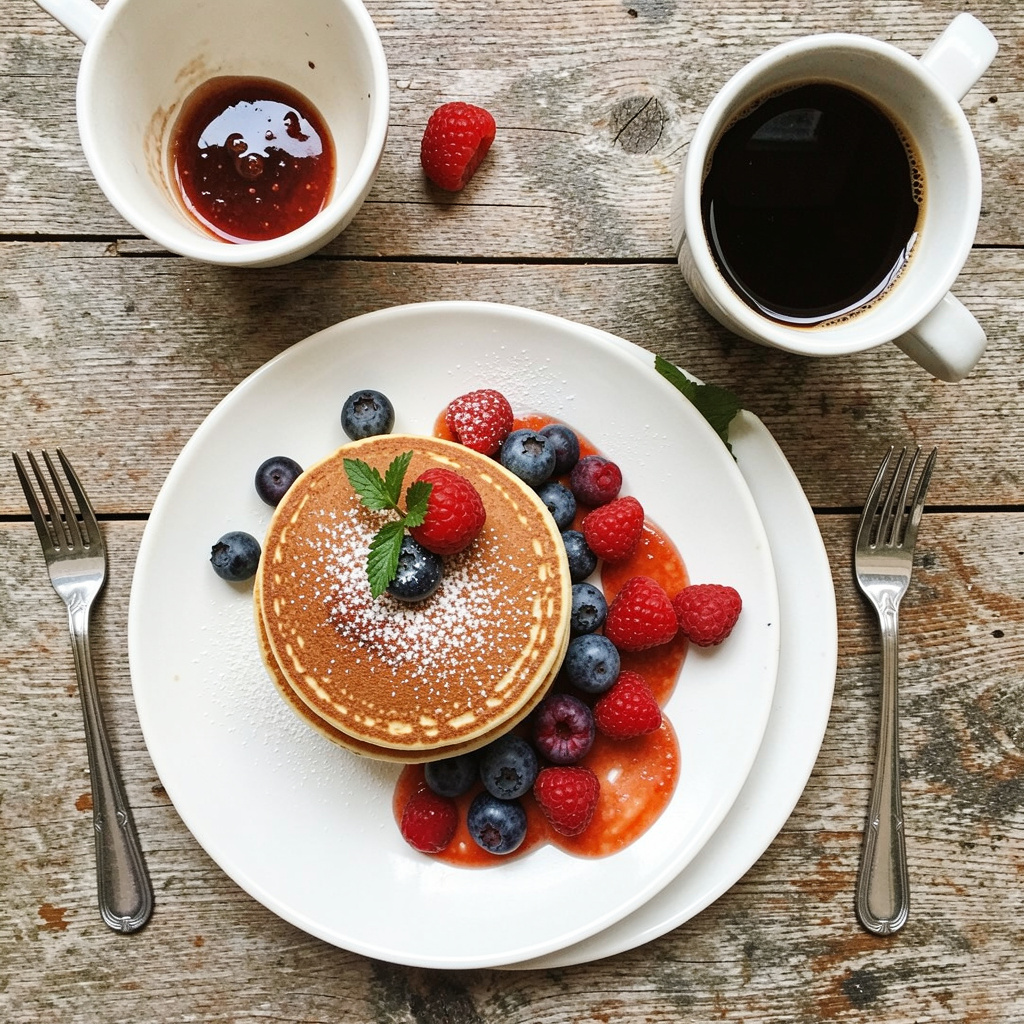
Classic toppings include maple syrup, whipped butter, and fresh berries, but don’t stop there. Try a dusting of powdered sugar, a drizzle of honey, sliced bananas, chopped nuts, or even a dollop of yogurt for a tangy contrast. For a heartier breakfast spread, pair your pancakes with crispy bacon, breakfast sausage, or scrambled eggs.
How to Store and Reheat Pancakes
Refrigerating: Store leftover pancakes in an airtight container in the refrigerator for up to 3 days.
Freezing: Lay cooled pancakes flat on a baking sheet in a single layer and freeze until solid, about 1 hour. Then transfer them to a freezer-safe bag or container, separating layers with parchment paper. They will keep well for up to 2 months.
Reheating: Reheat refrigerated or frozen pancakes in a toaster, toaster oven, or microwave until warmed through. For best texture, a toaster oven or regular oven at 350°F for about 5-8 minutes works wonderfully to restore crispness to the edges.
Frequently Asked Questions
Can I make the batter ahead of time?
Yes, you can prepare the batter the night before and store it covered in the refrigerator. Give it a gentle stir before cooking, as it may thicken slightly overnight.
Why are my pancakes flat instead of fluffy?
This is usually caused by expired baking powder or baking soda, overmixing the batter, or a pan that isn’t hot enough. Double-check your leavening agents are fresh and avoid overmixing.
Can I make these pancakes without buttermilk?
Absolutely. Combine 2 cups of regular milk with 2 tablespoons of lemon juice or white vinegar, stir, and let sit for 5 minutes before using as a buttermilk substitute.
How do I know when to flip the pancake?
Watch for bubbles forming across the surface and the edges appearing dry and set. This usually happens around the 2 to 3 minute mark on medium heat.
Can I make this recipe gluten-free?
Yes, substitute the all-purpose flour with a 1:1 gluten-free baking flour blend for similar results.
Final Thoughts
This buttermilk pancake recipe is proof that some of the best breakfasts come from the simplest ingredients. Once you master the basic technique, you can customize it endlessly to suit your mood, whether that means loading it up with chocolate chips or keeping it classic with a pour of warm maple syrup. Save this recipe, share it with your family, and make it part of your regular breakfast rotation.
If you try this recipe, let us know how it turned out in the comments below, and don’t forget to explore more breakfast ideas on our blog!